Blob storage connections
Connect your cluster to a bucket/container so Quix can enable Quix Lake (Data Lake, Lakehouse, or both) or any other managed service that requires a blob storage connection.
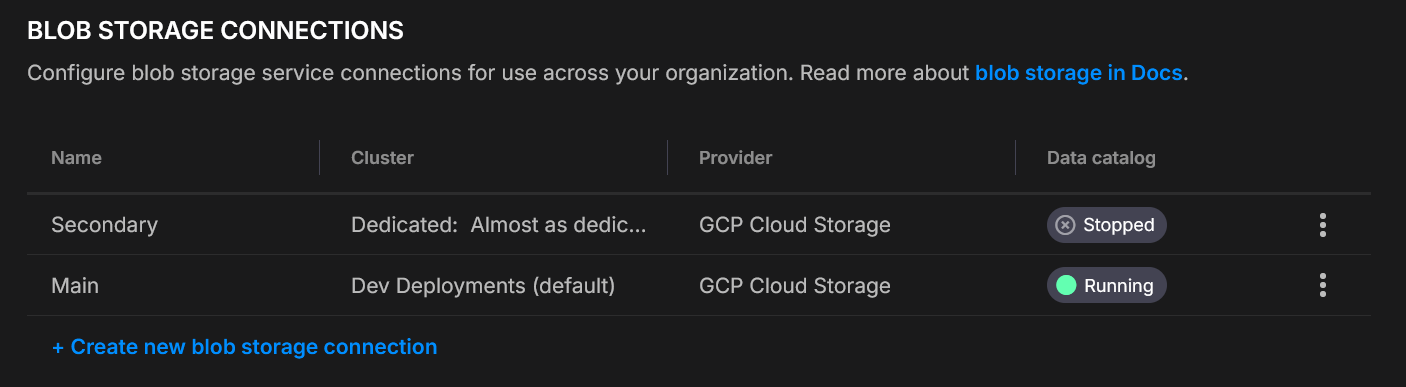
One connection per cluster
Each cluster supports one blob storage connection. You can configure different connections for different clusters. Both the Data Lake Sink and the Lakehouse Sink use this same connection.
Quix Lake at a glance
Quix Lake is the persistence layer of Quix Cloud. It ships in two flavors that share this blob storage connection:
- Data Lake — raw Kafka messages in Avro plus a Parquet index. Replay-first, byte-perfect.
- Lakehouse — columnar Parquet tables registered in a catalog. Query-first, SQL-ready.
Run one, the other, or both — see the Quix Lake overview for how to choose.
Create a connection
- Settings → Blob storage connections → Create
- Pick Cluster, set Display name, choose Provider, fill the fields
- Test connection (below)
- Save
Test before saving

When you click Test connection, Quix runs a short round-trip check to make sure your details are correct and that the platform can both see and use your storage.
Here’s what happens:
- Connect - Quix creates a storage client using the details you entered.
- Upload - it writes a small temporary file into a
tmp/folder in your bucket or container. - Check visibility - it confirms the file shows up in the storage listing.
- Query - it runs a simple check to ensure the file is discoverable for later Quix Lake operations.
- Clean up - the temporary file is deleted so your storage stays tidy.
Success
Each step is shown in the dialog. Successful steps are marked with a ✓, and you’ll see confirmation when everything checks out.
Failure
If a step fails, you’ll see ✗ next to it along with the reason (for example, “Access denied” or “Wrong region”). This makes it easy to fix permissions or update your settings.

Providers
- Log in to the AWS Management Console.
- Go to IAM.
- Open Users.
- Select an existing user or click Add user to create a new one.
- Permissions
- In the Permissions tab, attach a policy that allows bucket access.
- Security credentials
- Open the Security credentials tab.
- Click Create access key.
- Save credentials
- Copy the Access Key ID and Secret Access Key (the secret appears only once).
- Copy the information into the Quix S3 form.
- Click Test Connection.
- Ensure access
- Have Google Cloud project owner or similar permissions where your bucket resides or will be created.
- Create a service account and assign it to the bucket with R/W (e.g.,
roles/storage.objectAdmin) or equivalent minimal object roles. - Open Cloud Storage settings
- In the Google Cloud Console, go to Storage → Settings.
- Interoperability tab
- Select Interoperability.
- If disabled, click Enable S3 interoperability.
- Create (or view) keys
- Under Access keys for service accounts, click Create key and follow the process to assign one to the service account.
- Save credentials
- Copy the Access key and Secret (the secret is shown only once).
- Paste this information into the Quix S3 connector form.
- Click Test Connection.
- Ensure access
- Your Azure user must have at least the Storage Blob Data Contributor role (or higher).
- Open the Azure Portal and go to your Storage account.
- Navigate to credentials
- In the left menu, expand Security + networking.
- Click Access keys.
- Copy credentials
- Note the Storage account name.
- Copy Key1 (or Key2) value.
- Paste the information into the Quix Azure Blob connector form.
- Click Test Connection.
- Ensure access
- Your MinIO user or role must include permissions to create and list access keys (e.g.,
consoleAdminor a custom PBAC policy). - Log in to the MinIO Console.
- Go to Access keys
- Select Access keys in the left menu.
- Create a new key
- Click Create access key to generate an Access Key and Secret Key.
- Save credentials
- Copy the Access Key and Secret Key - the secret is shown only once.
- Copy the information into the Quix MinIO connector form.
- Click Test Connection.
Variables injected into bound deployments
When a deployment — or a dev session — is bound to this blob storage connection, Quix injects the connection itself as a secret:
| Variable | Description |
|---|---|
Quix__BlobStorage__Connection__Json |
The full connection as a JSON document — provider plus credentials and the bucket/container. Injected as a secret so values stay hidden in logs and the UI. |
The JSON carries the selected Provider (S3, GCS, Azure Blob, or MinIO) and the matching credential and location fields you entered above. Your code reads this one variable and deserializes it to connect to the storage.
When Quix Lake is enabled, the Lakehouse endpoints are injected too, so your code can reach the Catalog and Query services without hard-coding URLs:
| Variable | Description |
|---|---|
Quix__Lakehouse__Catalog__Url |
The Catalog URL (preferred name). Also injected as CATALOG_URL (legacy / PyIceberg alias) and QUIX_LAKE_URL (QuixLake / QuixLab alias). |
Quix__Lakehouse__Catalog__AuthToken |
Authenticates your code's requests to the Catalog — pair it with Quix__Lakehouse__Catalog__Url. Only injected under the Quix__ name (no alias). Injected as a secret. |
Quix__Lakehouse__Query__Url |
The Query URL. |
Quix__Lakehouse__Query__AuthToken |
Authenticates your code's requests to the Query service — pair it with Quix__Lakehouse__Query__Url. Injected as a secret. |
See Quix Variables for the full list of variables the platform injects into deployments.
Security & operations
- Dedicated principals per connection (IAM user / Service Account / MinIO user)
- Scope credentials to one bucket/container
- Rotate keys regularly; store secrets securely
- Consider server-side encryption and access logging
See more
- Quix Lake overview — what it is and how to choose between Data Lake and Lakehouse
- Data Lake overview — replay-first storage
- Lakehouse overview — query-first storage
- Data Lake Sink — persist topics as Avro + Parquet index
- Lakehouse Sink — persist topics as queryable Parquet tables